

Every booking made through your website appears in Features > Bookings, on a calendar shown in your site timezone.
Step 1: Open Bookings
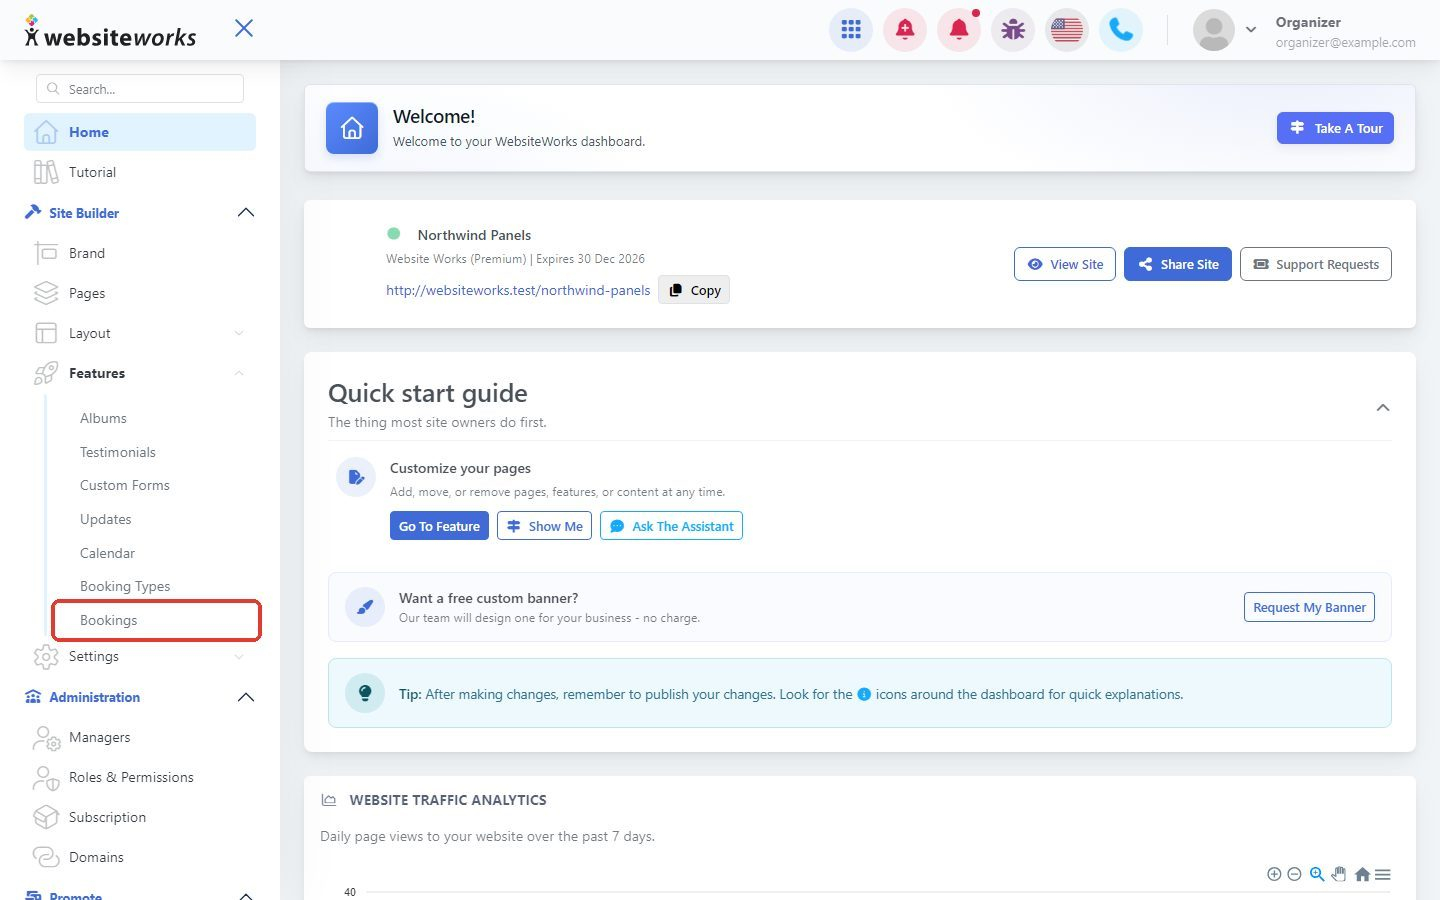
In the menu, click Features, then Bookings.
Step 2: Browse the calendar
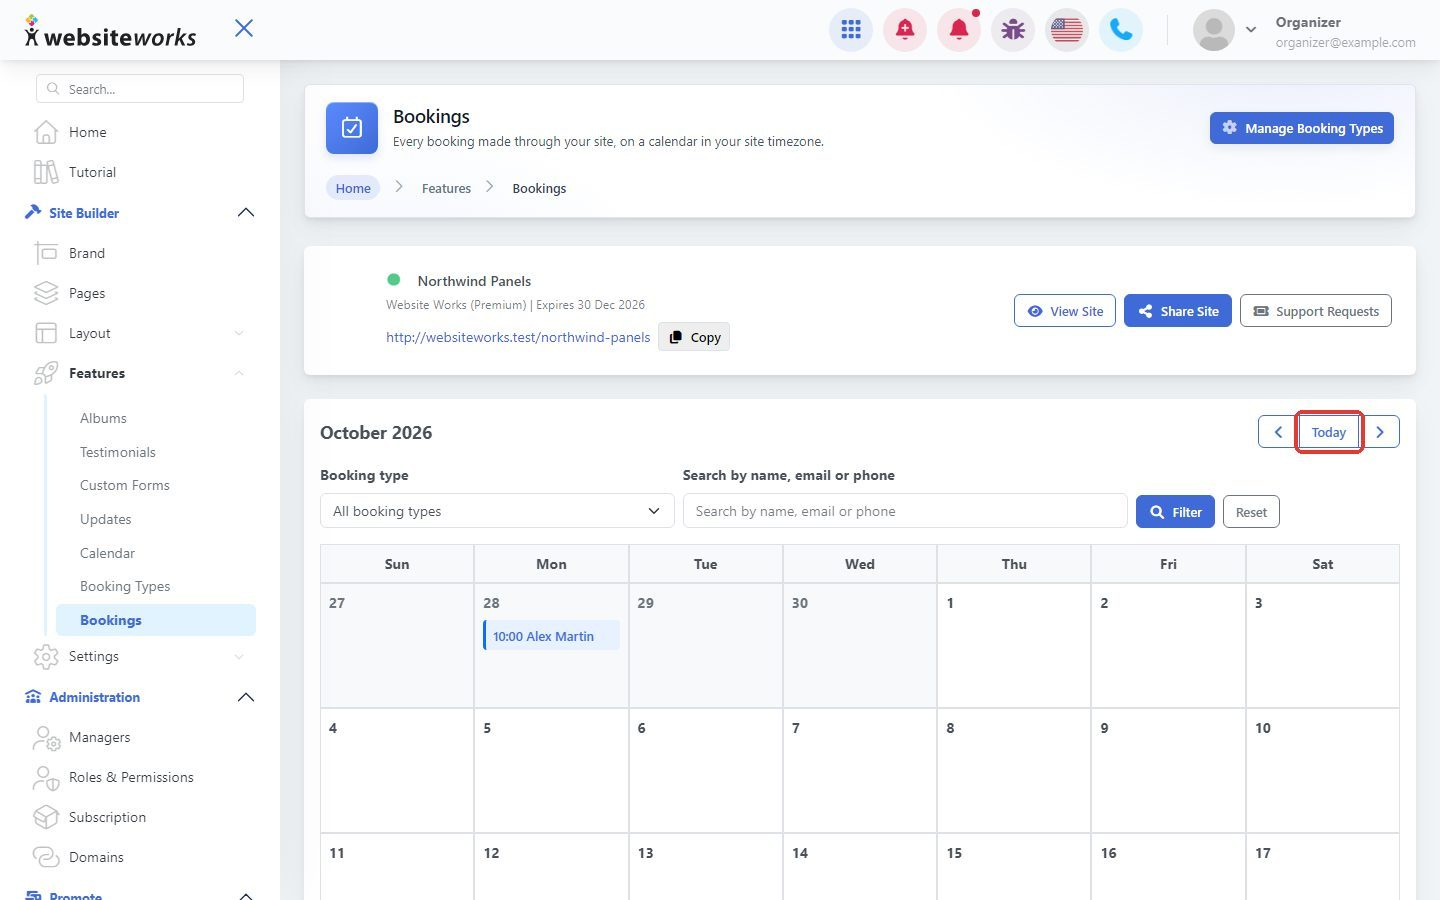
The calendar shows each booking with its start time and the visitor's name. Use the arrows to move to the previous or next month, and click Today to come back to the current month.
Step 3: Filter and search
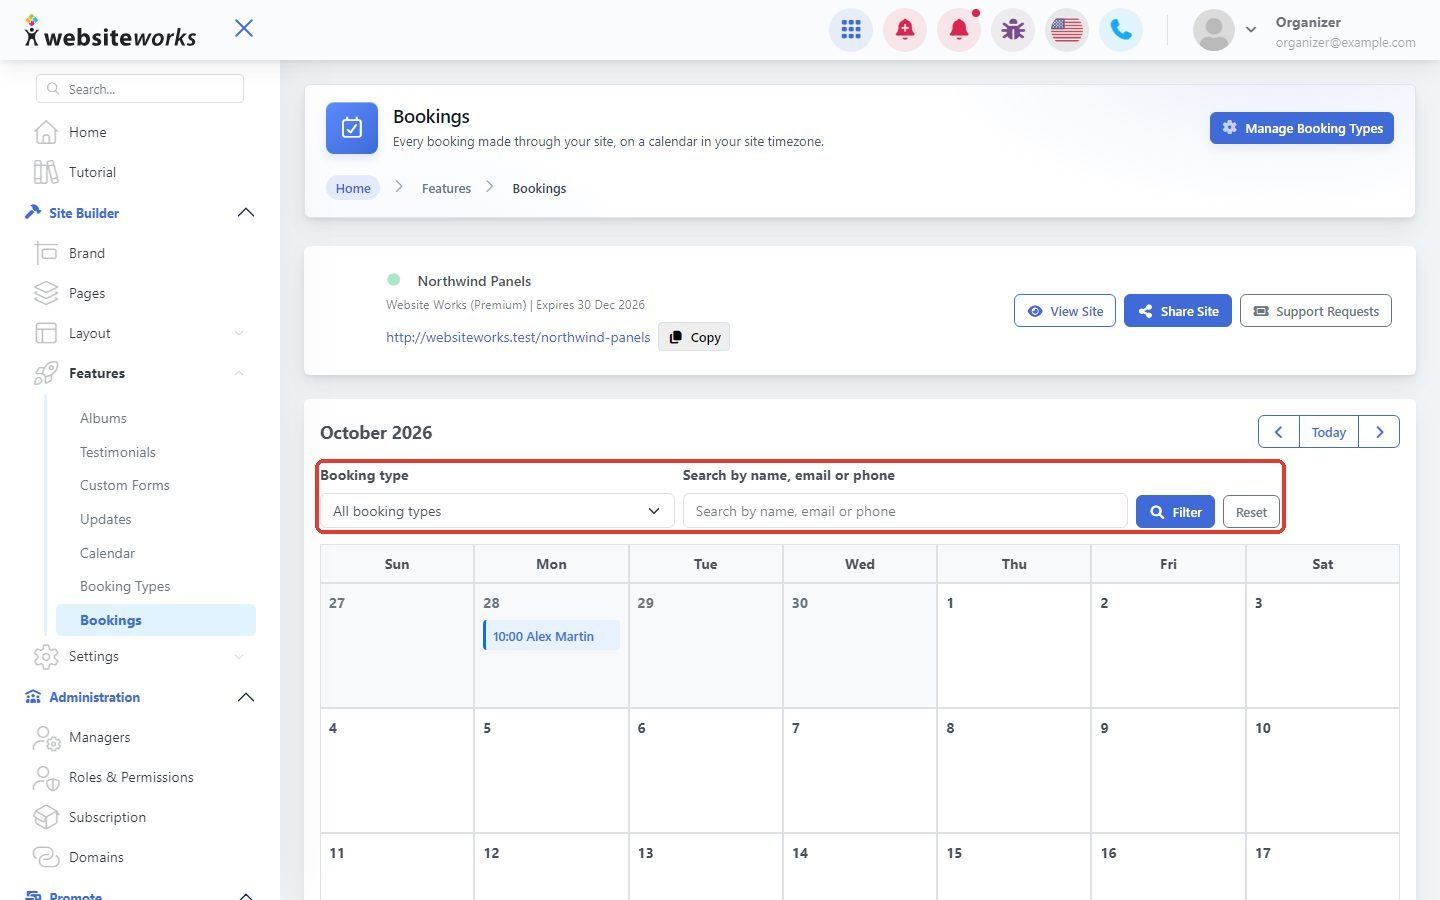
Pick a Booking type to see only those bookings, or type in Search by name, email or phone. Click Filter. Click Reset to see all bookings again.
Step 4: See your upcoming bookings
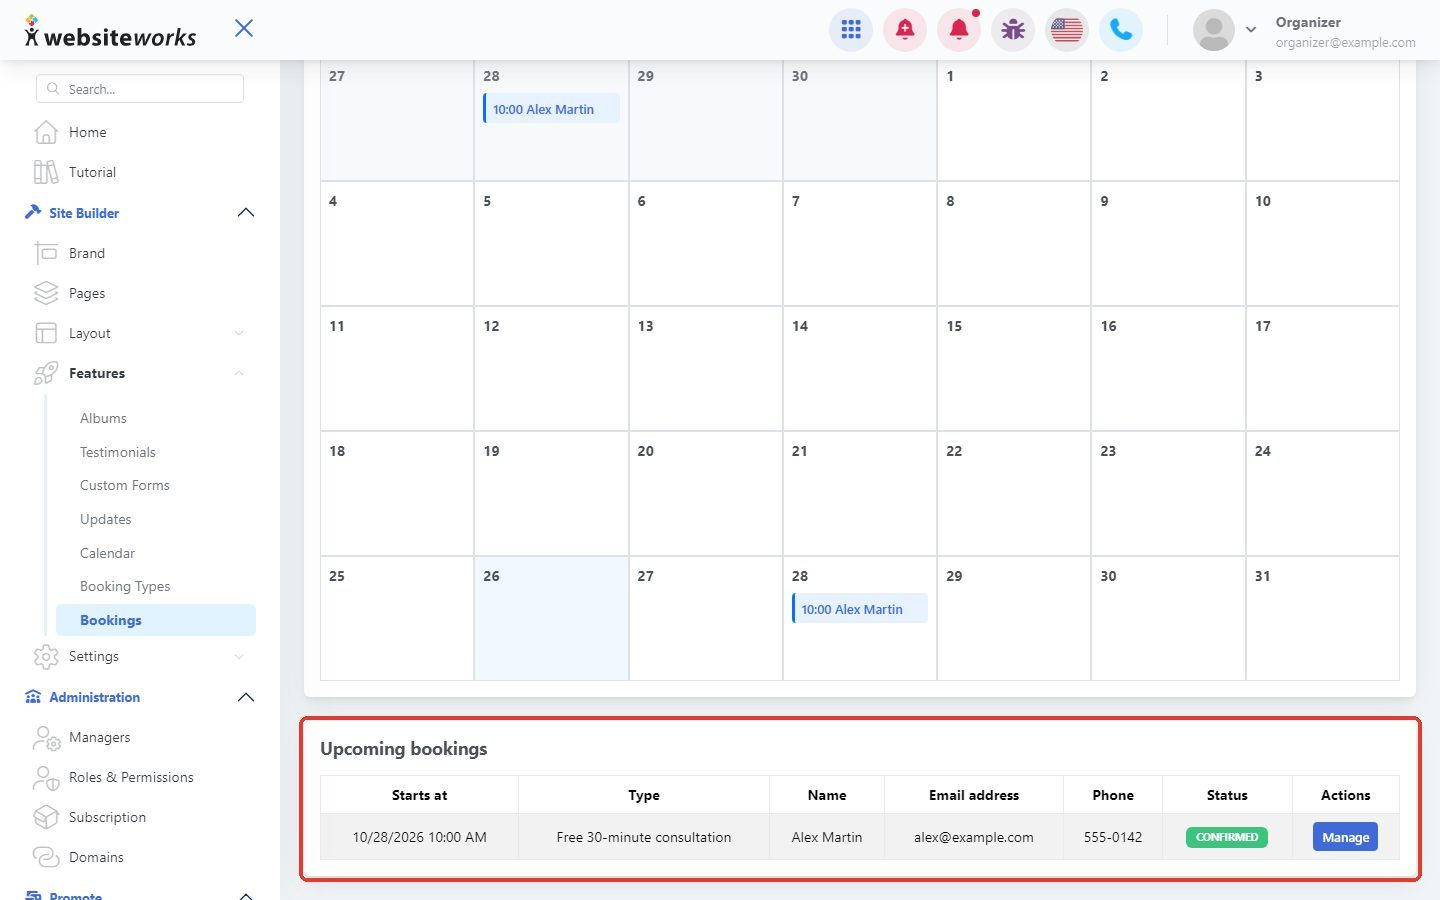
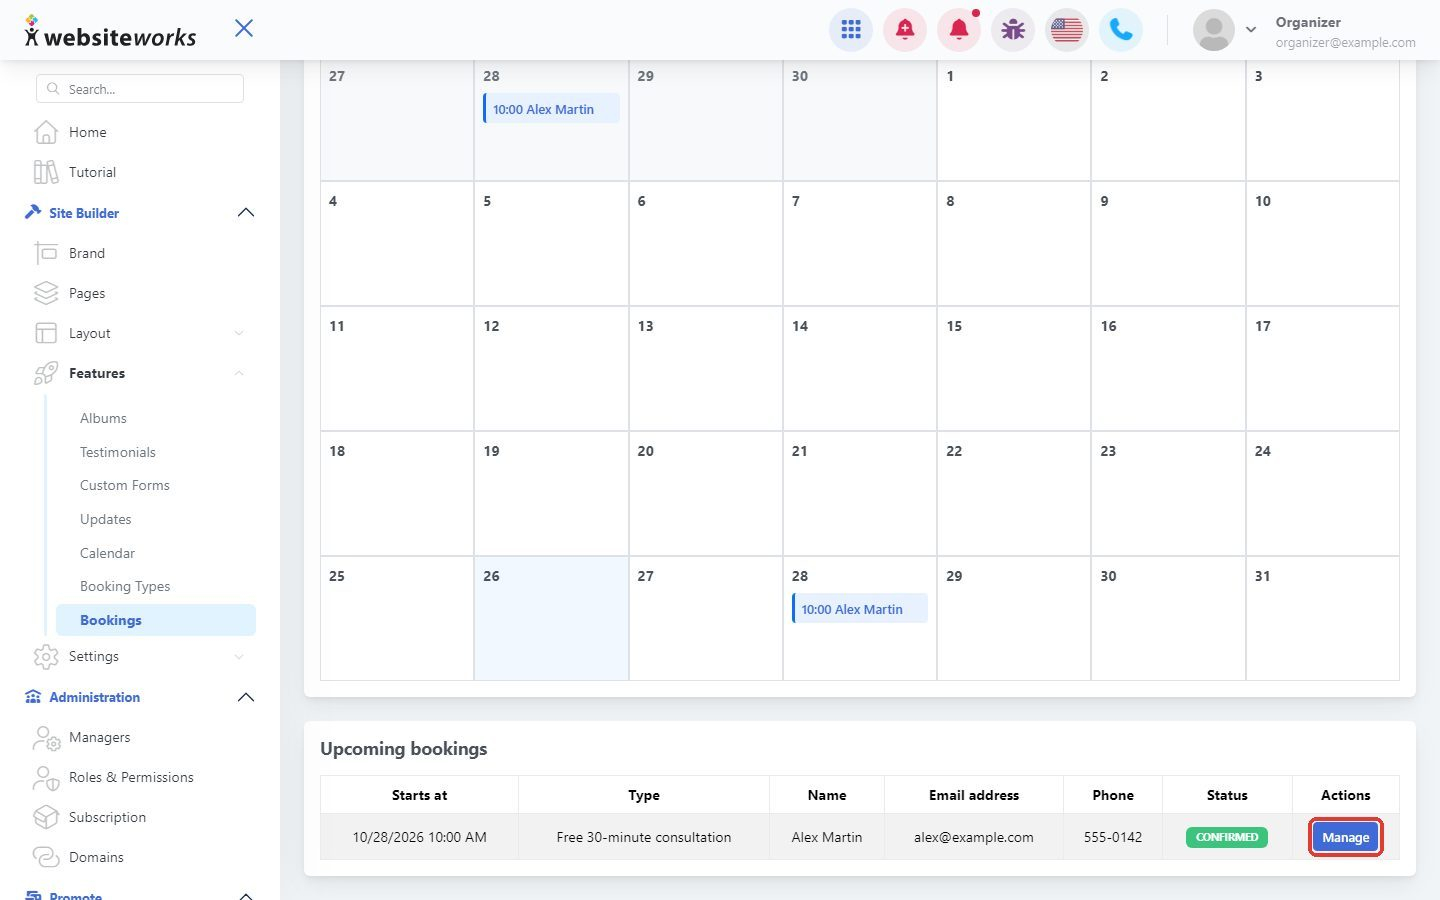
Below the calendar, Upcoming bookings lists the next bookings with their start time, type, the visitor's name, email address, phone and status.
Step 5: Open a booking
Click Manage next to a booking.
Step 6: Check the booking details
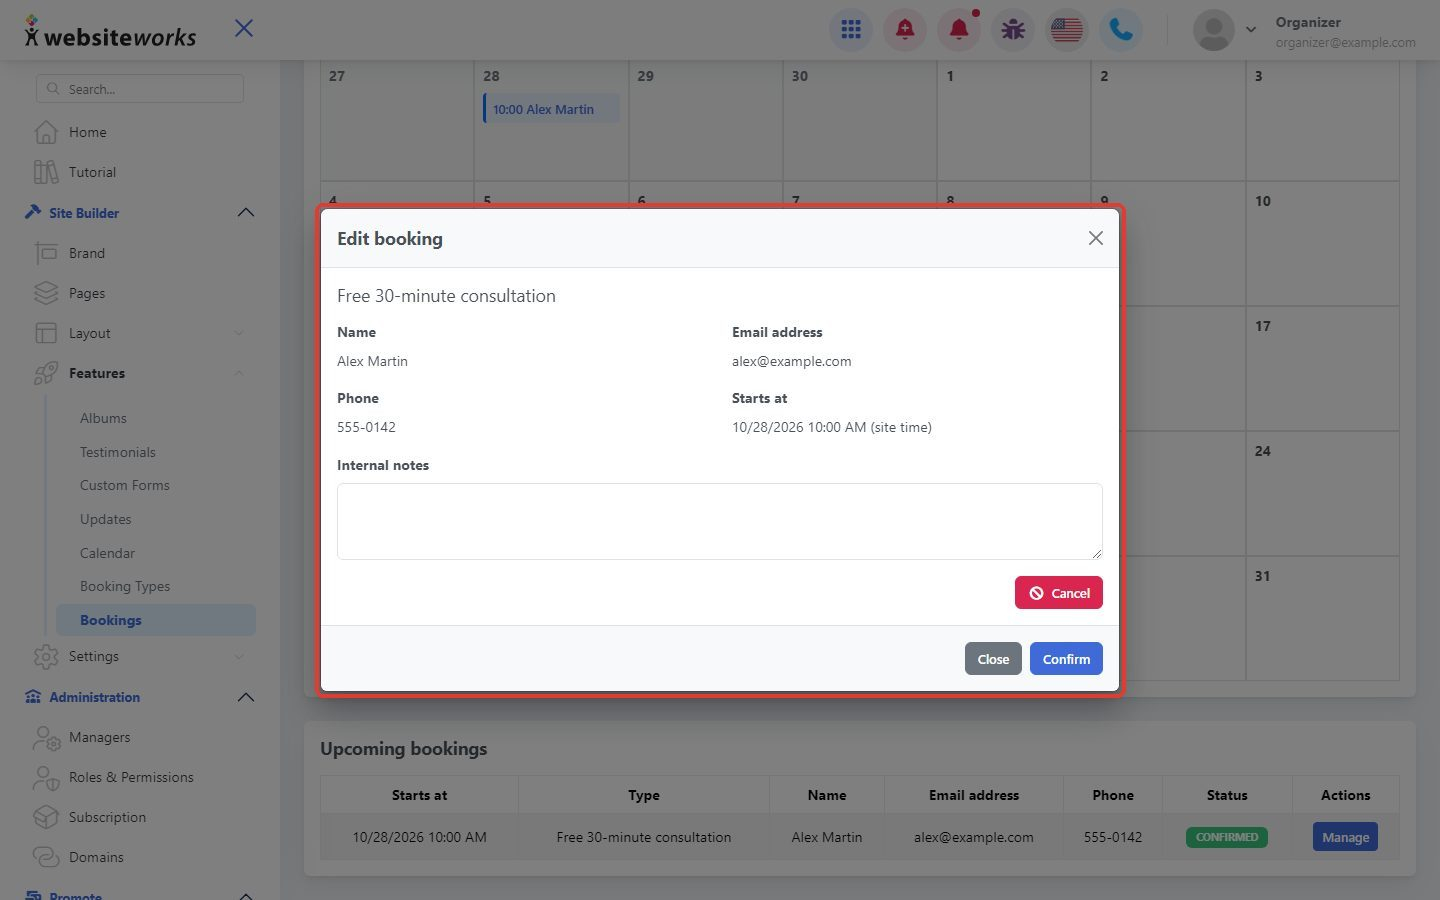
The Edit booking window shows the booking type, the visitor's name, email address and phone, and the start time (in your site time).
Step 7: Add internal notes
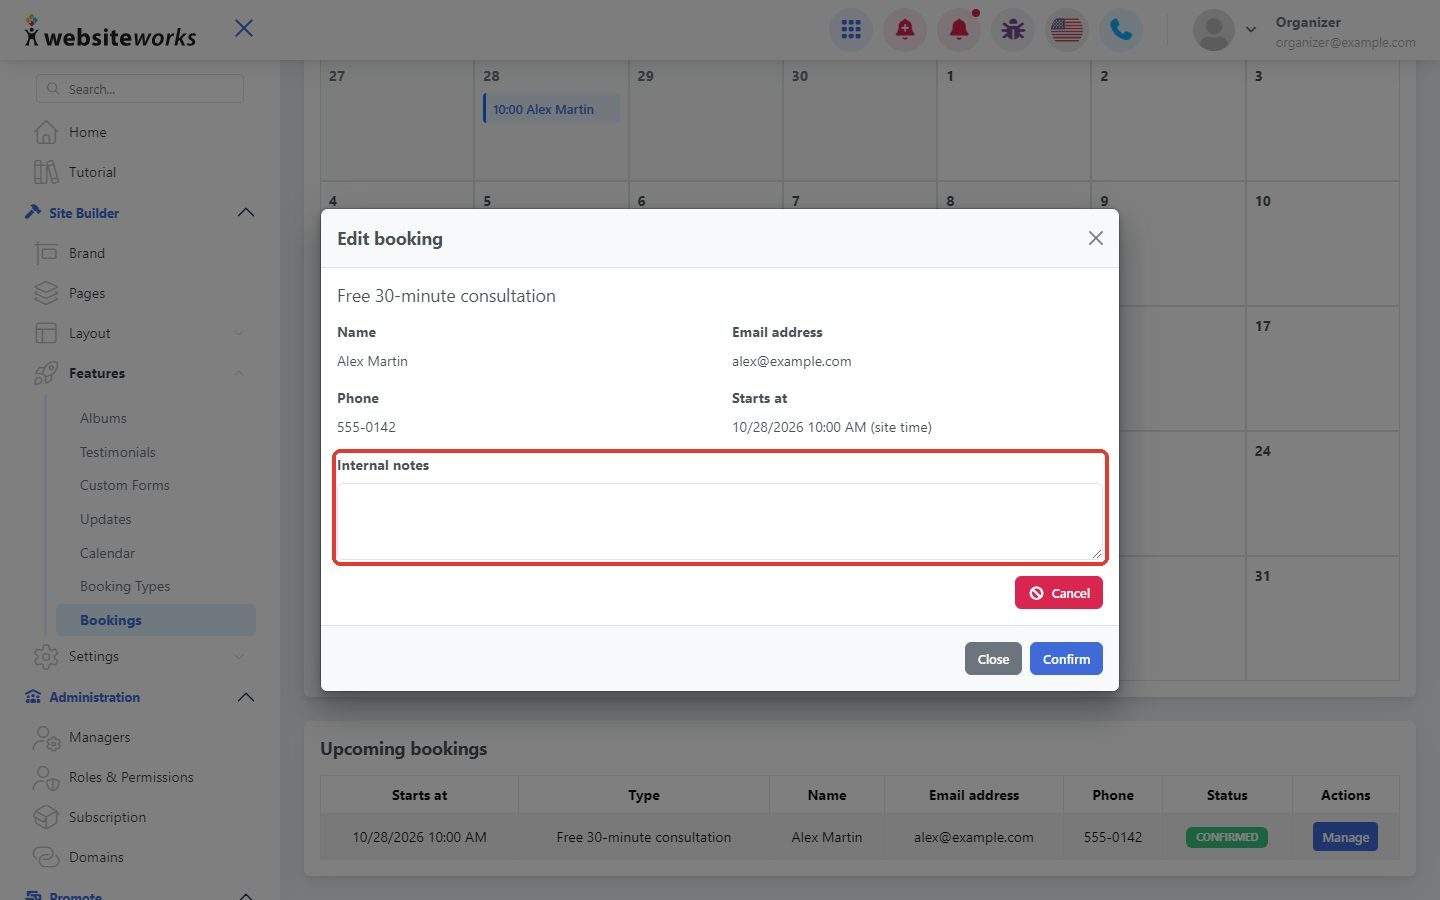
Write anything you want to remember in Internal notes, then click Confirm. Only you and your team see these notes.
Step 8: Cancel a booking
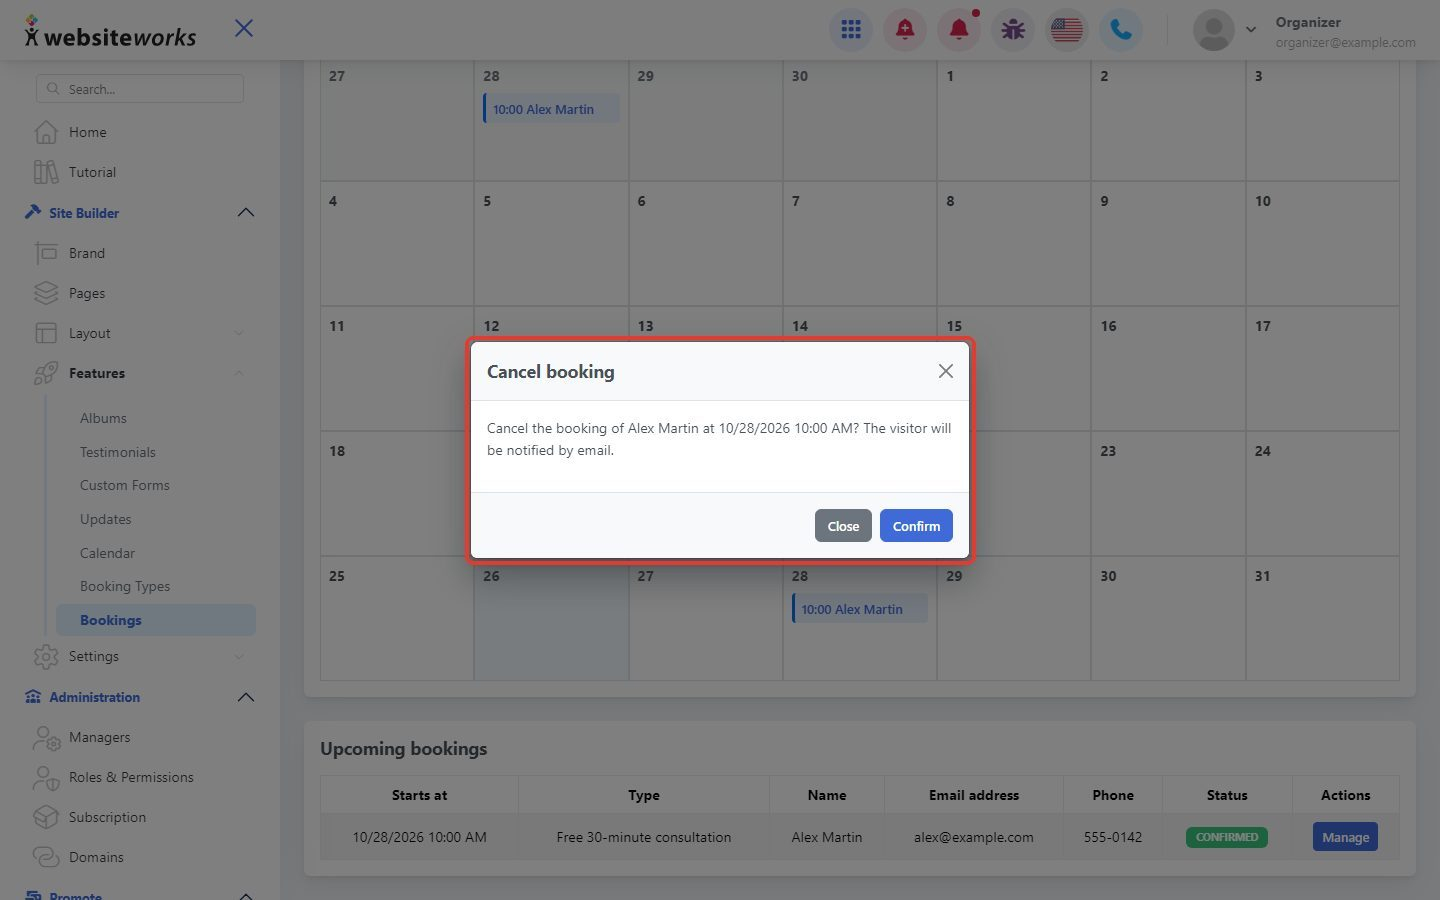
To cancel, click Cancel in the Edit booking window. The Cancel booking window asks you to confirm. Click Confirm to cancel the booking, or Close to keep it. The visitor is notified by email.
Good to know: Visitors can also cancel online until the Minimum notice of the booking type. Closer than that, they need to contact you.